In this <10 min read you will learn:
- How to unpack and handle your canvas backdrop
- Ways you can use your backdrop in a home/studio environment
- Simple techniques for lighting your scene
- How to care for your backdrop and keep it looking great for next time
Canvas backdrops are a beautiful thing. Ideal for portraiture, video and larger scale still life, they can replicate the depth and texture of hand-painted backgrounds while remaining easy to handle and store. In this post we are going to look at a few tips for getting started with canvas backdrops, as well as some simple ways for you to get the most from your shots.
Unpacking & Handling
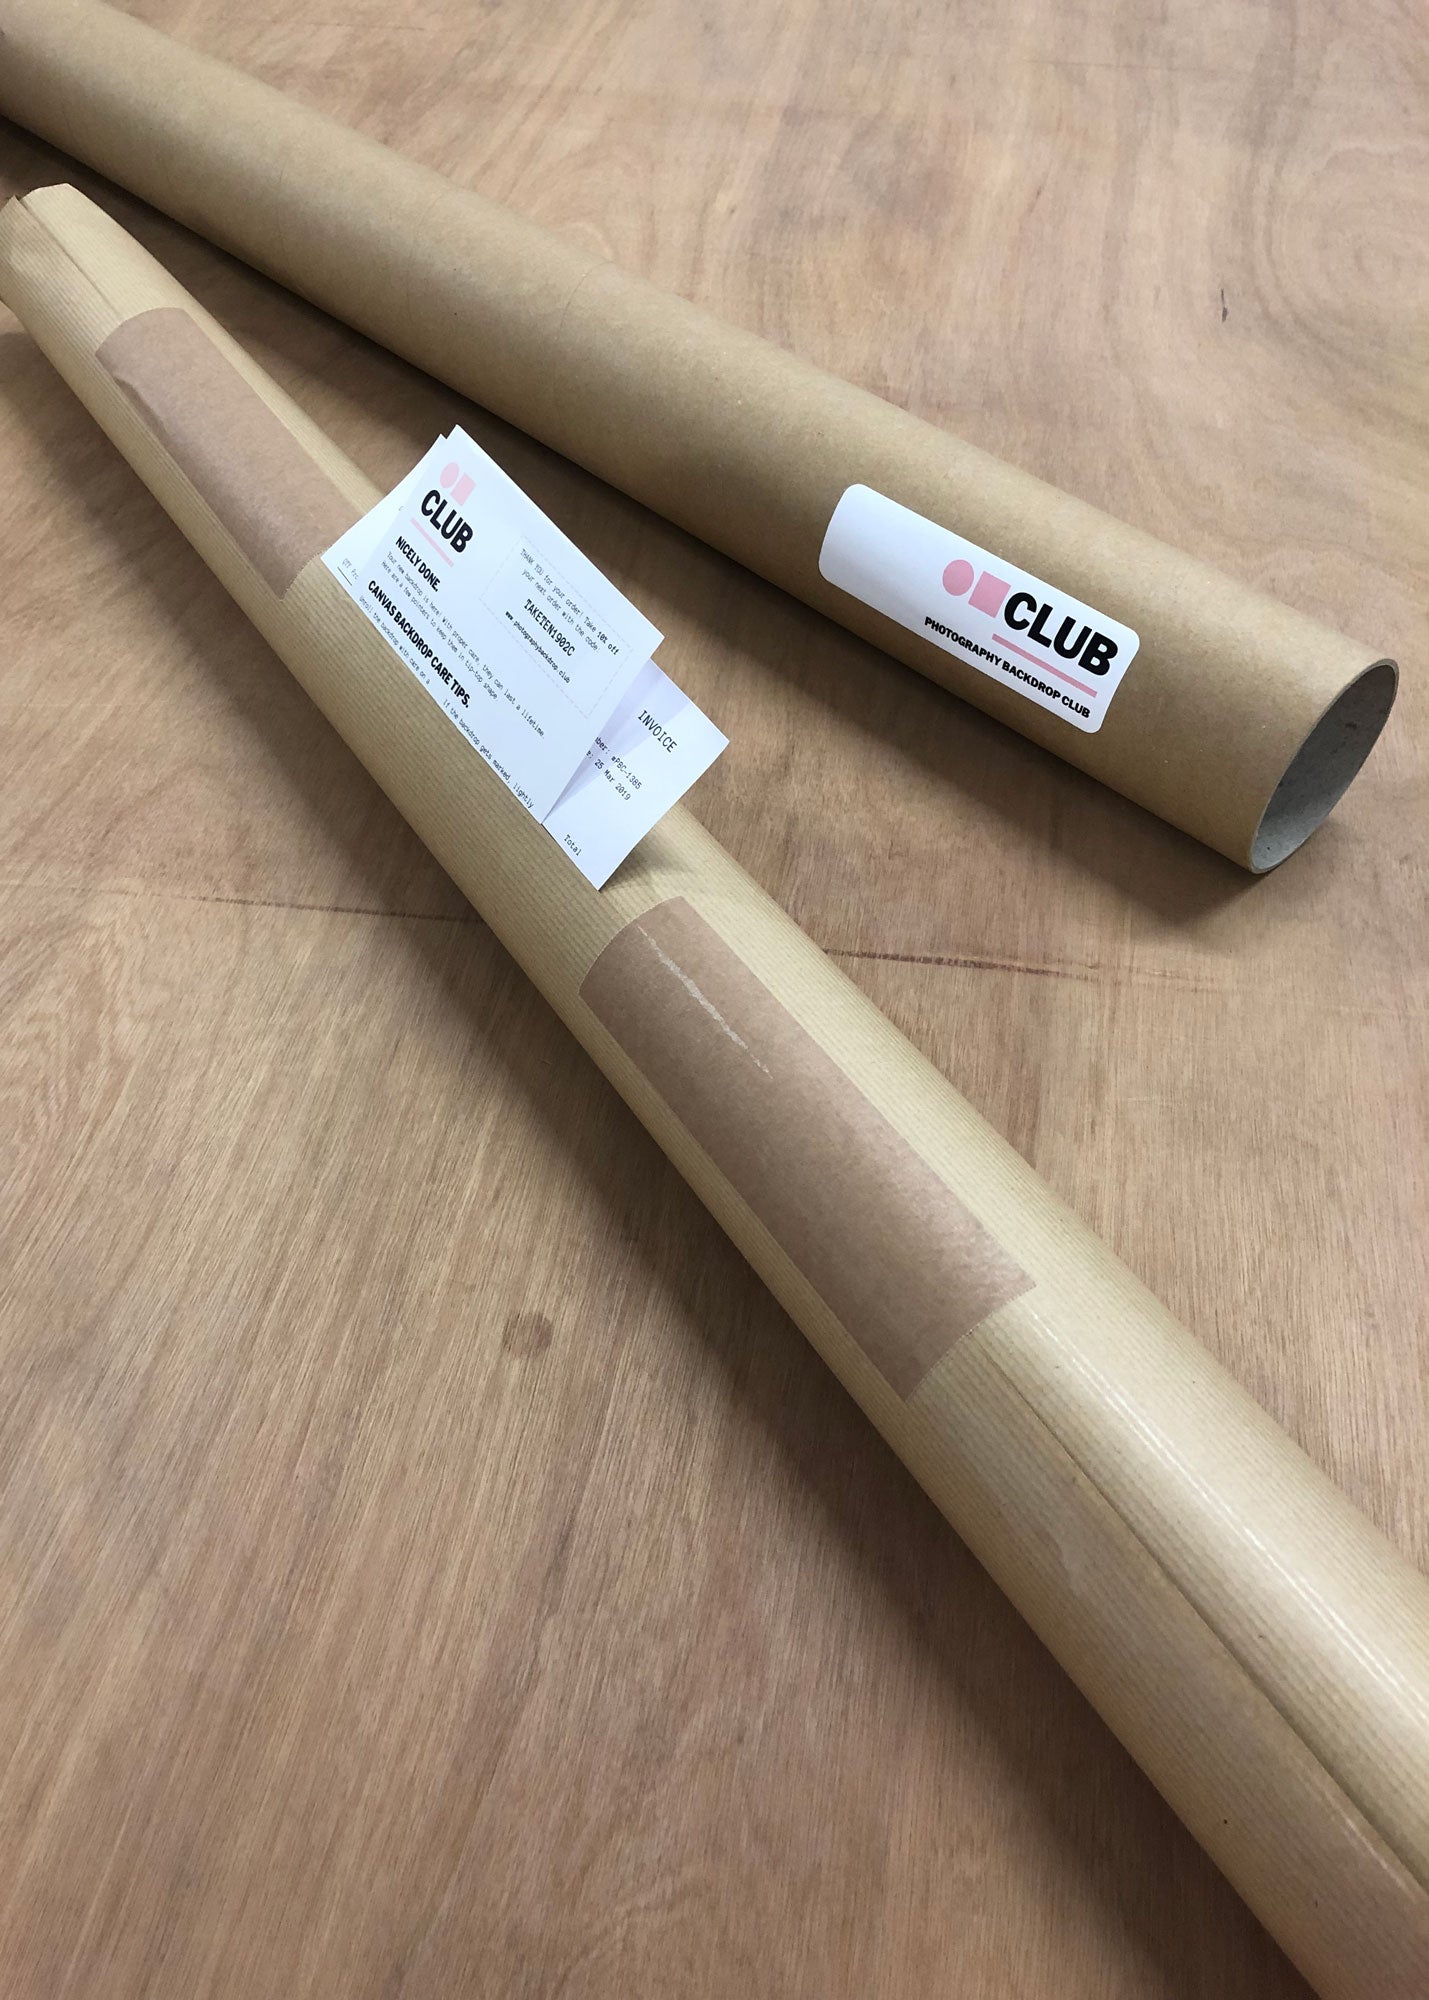
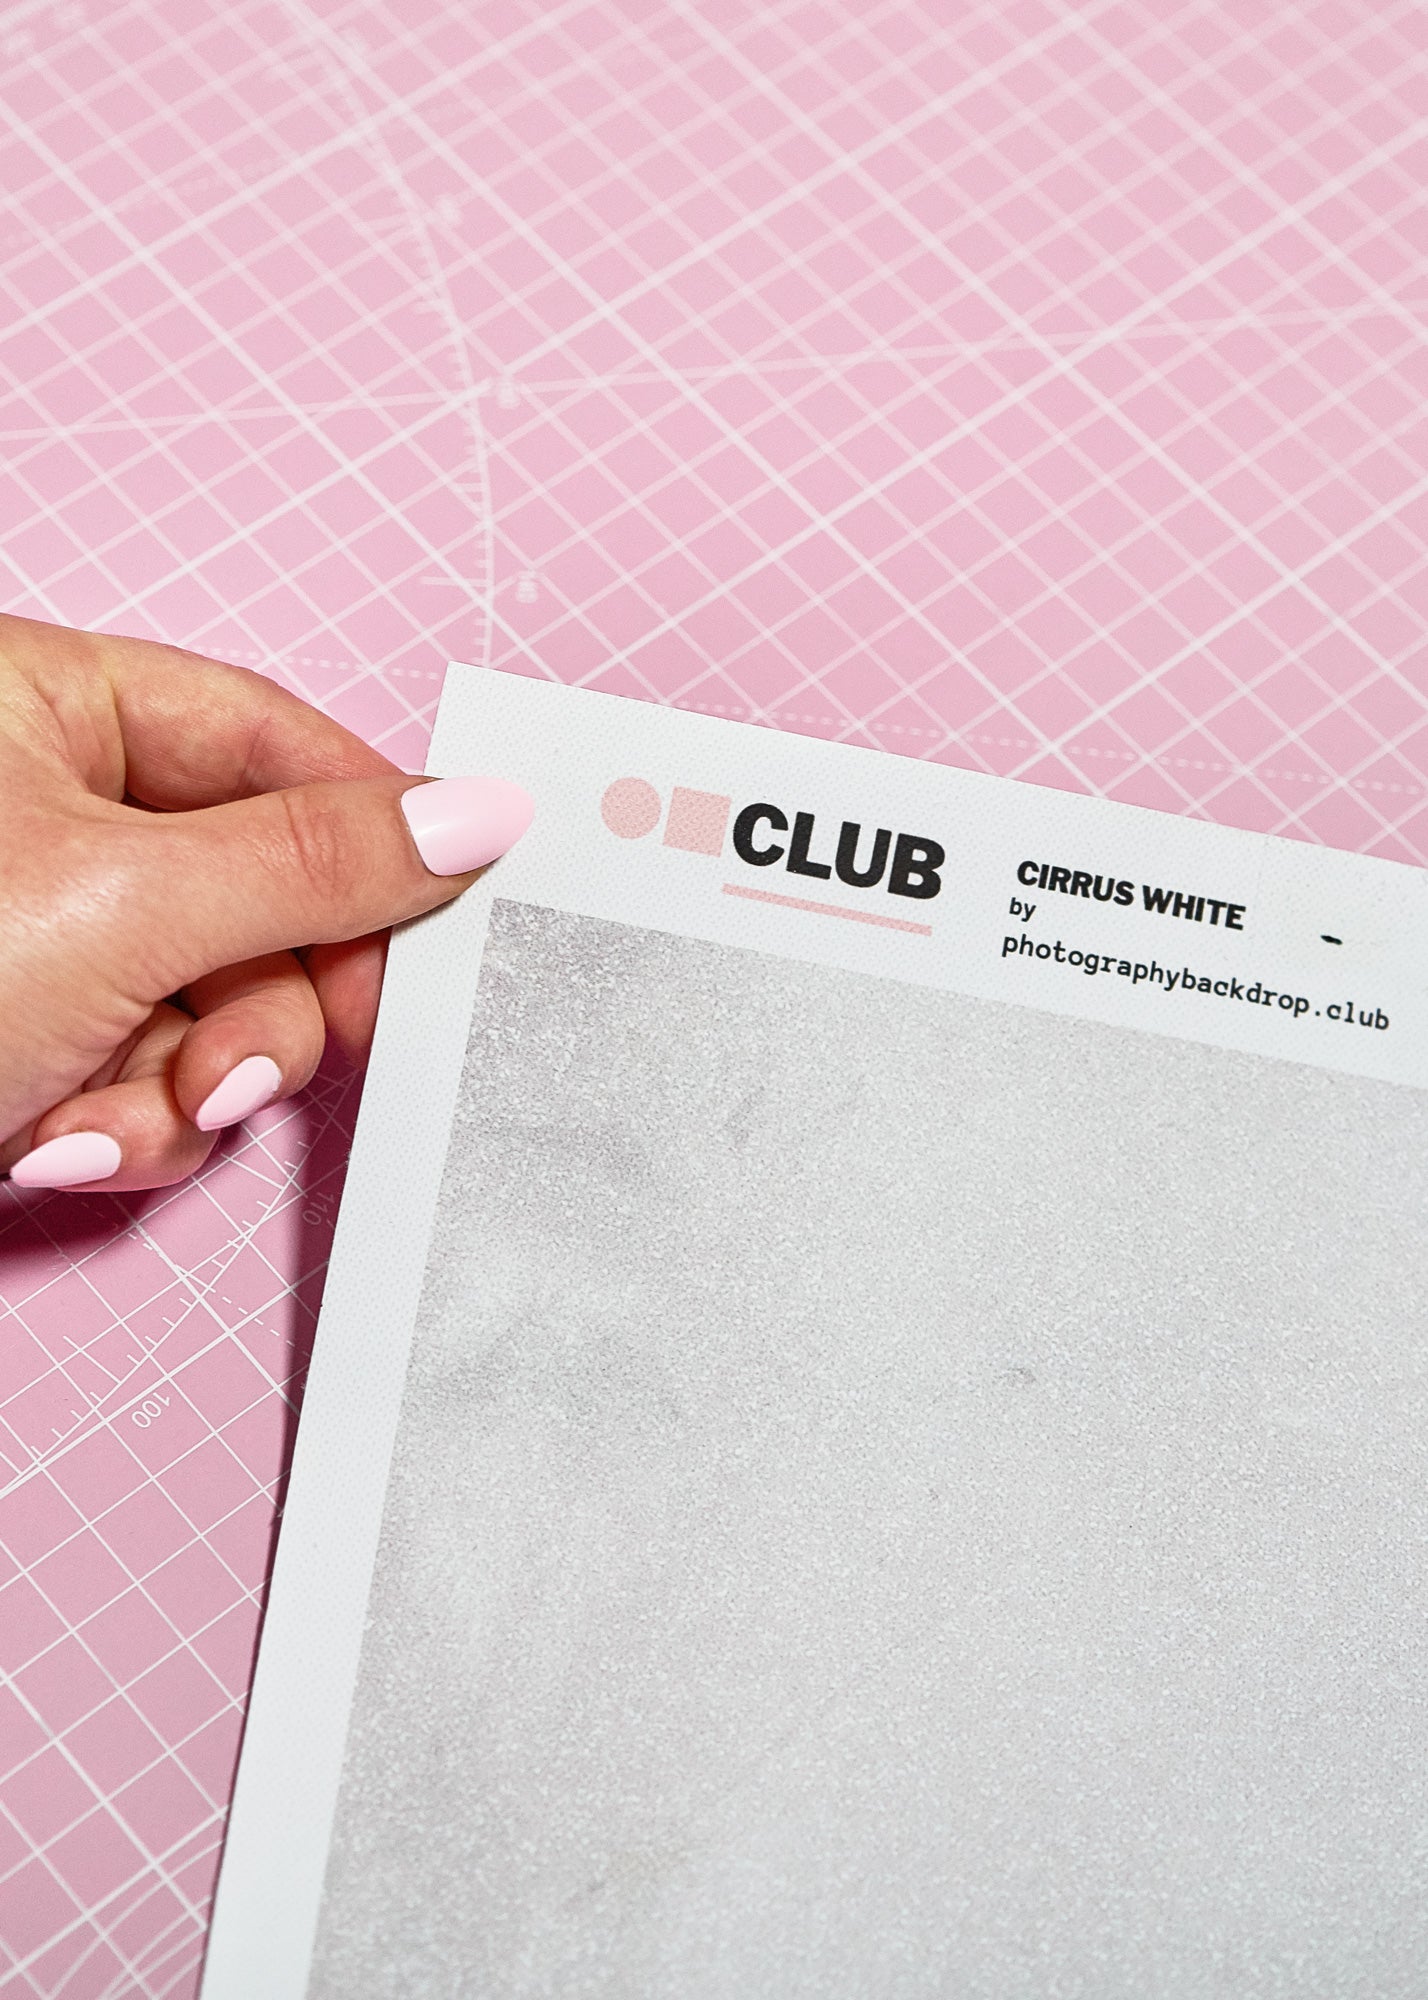
When removed from it’s packing tube, your canvas backdrop should be unrolled onto a flat surface. We recommend that you try to handle the backdrop on the white border edges and not on the printed area to minimise the risk of damage. You should also make sure not to crumple or fold the material as this can cause creases.
If you are using your canvas backdrop in direct contact with props, be sure to place them with care and never drag objects over the surface.
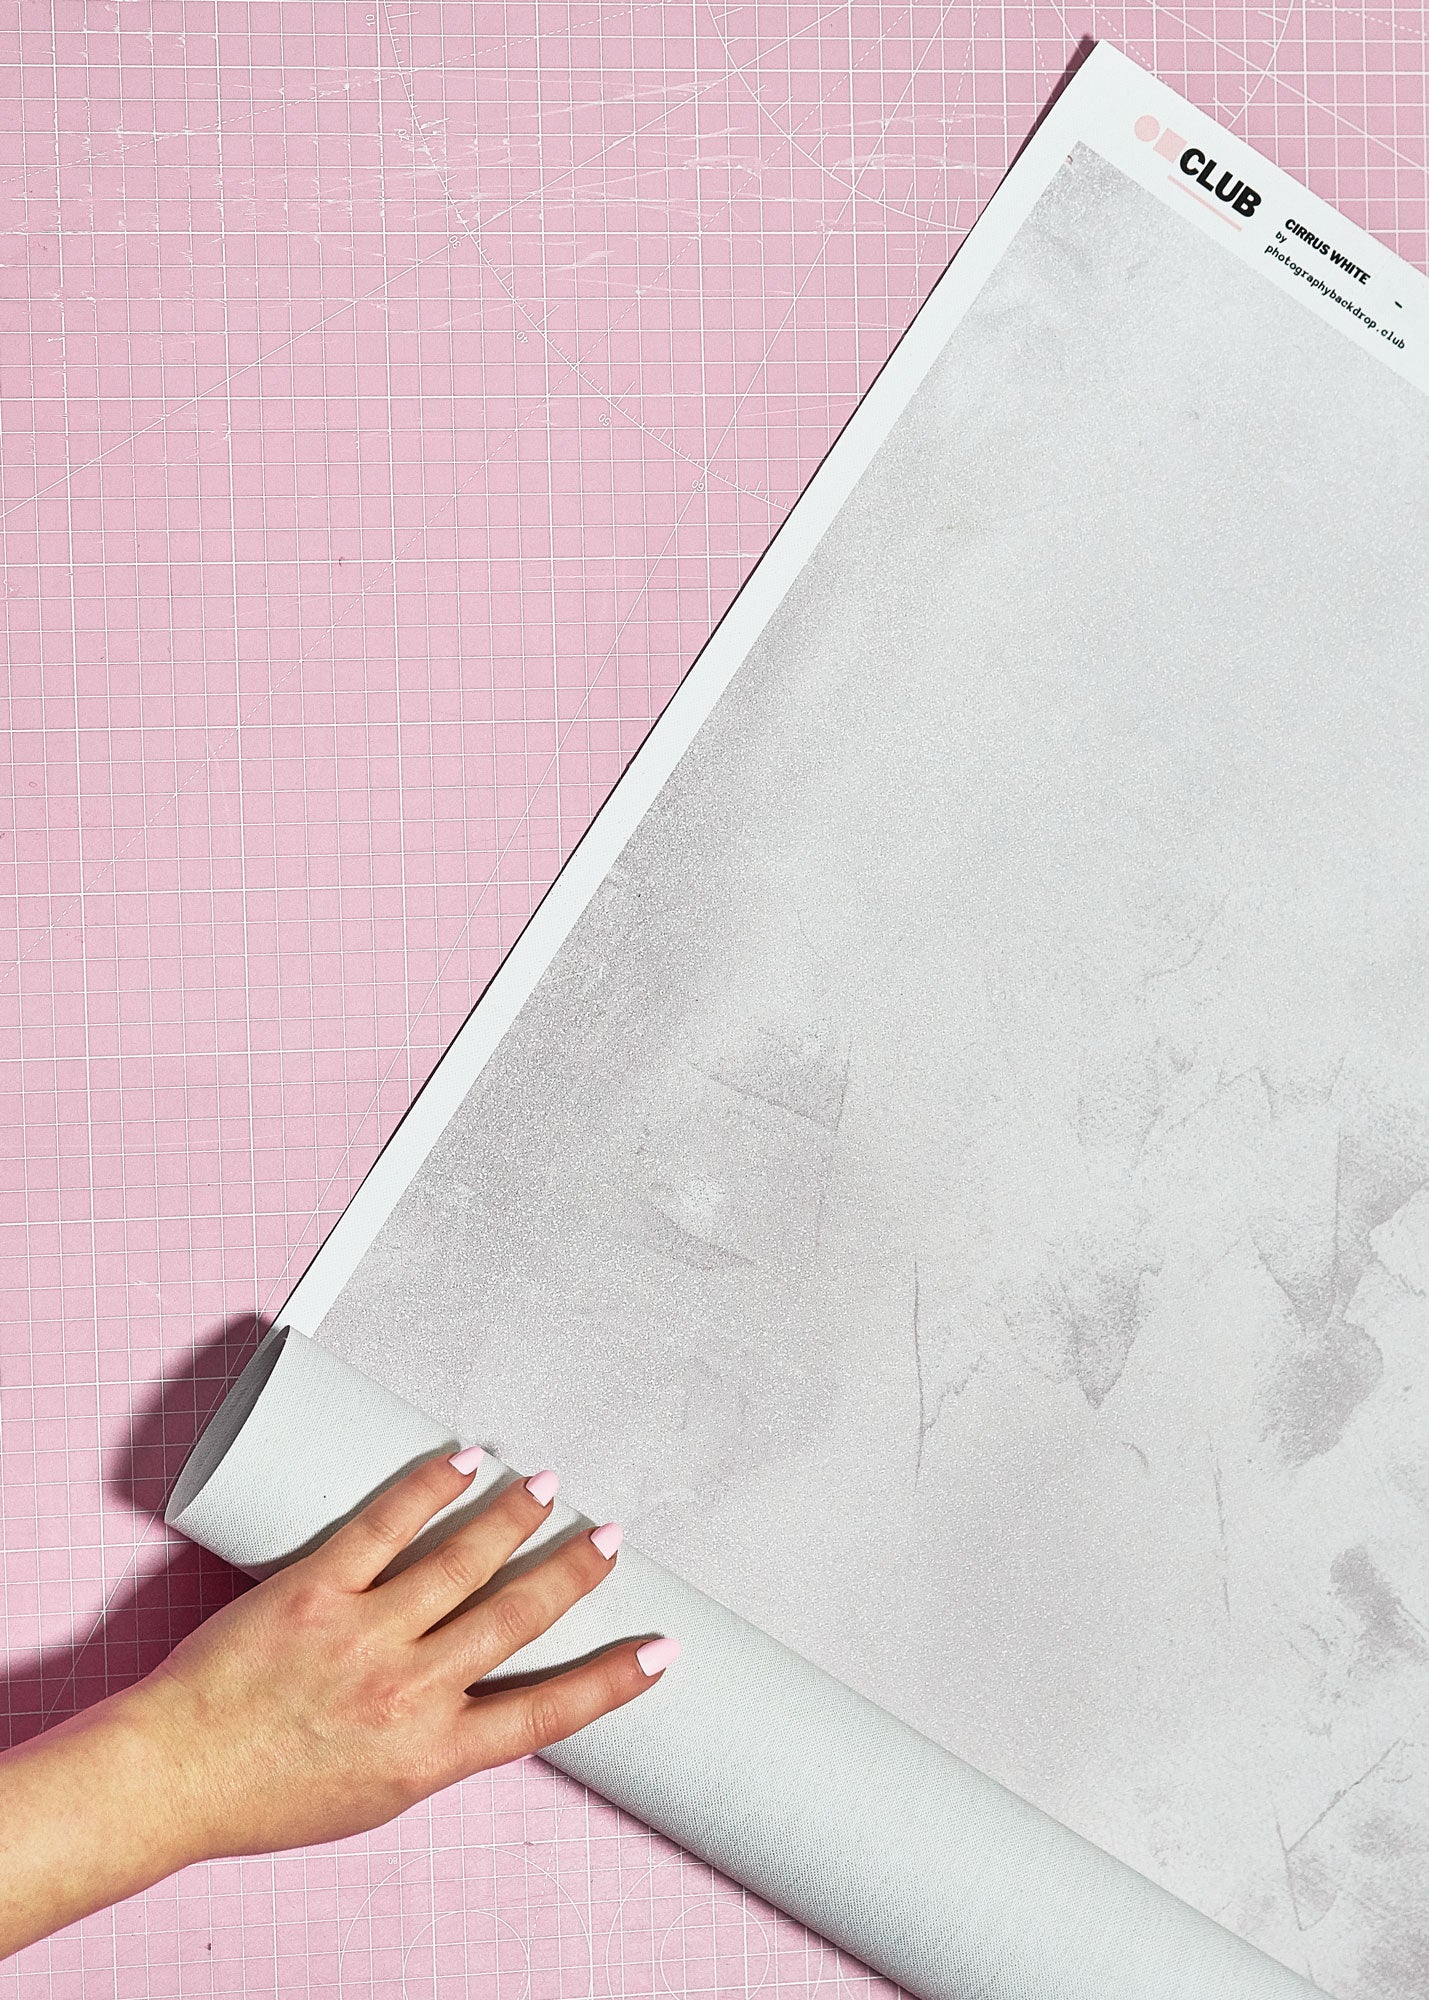
As these backdrops are made of thick fabric, they do not retain a curve from being rolled and will lie flat right away:
How to Use Your Backdrop
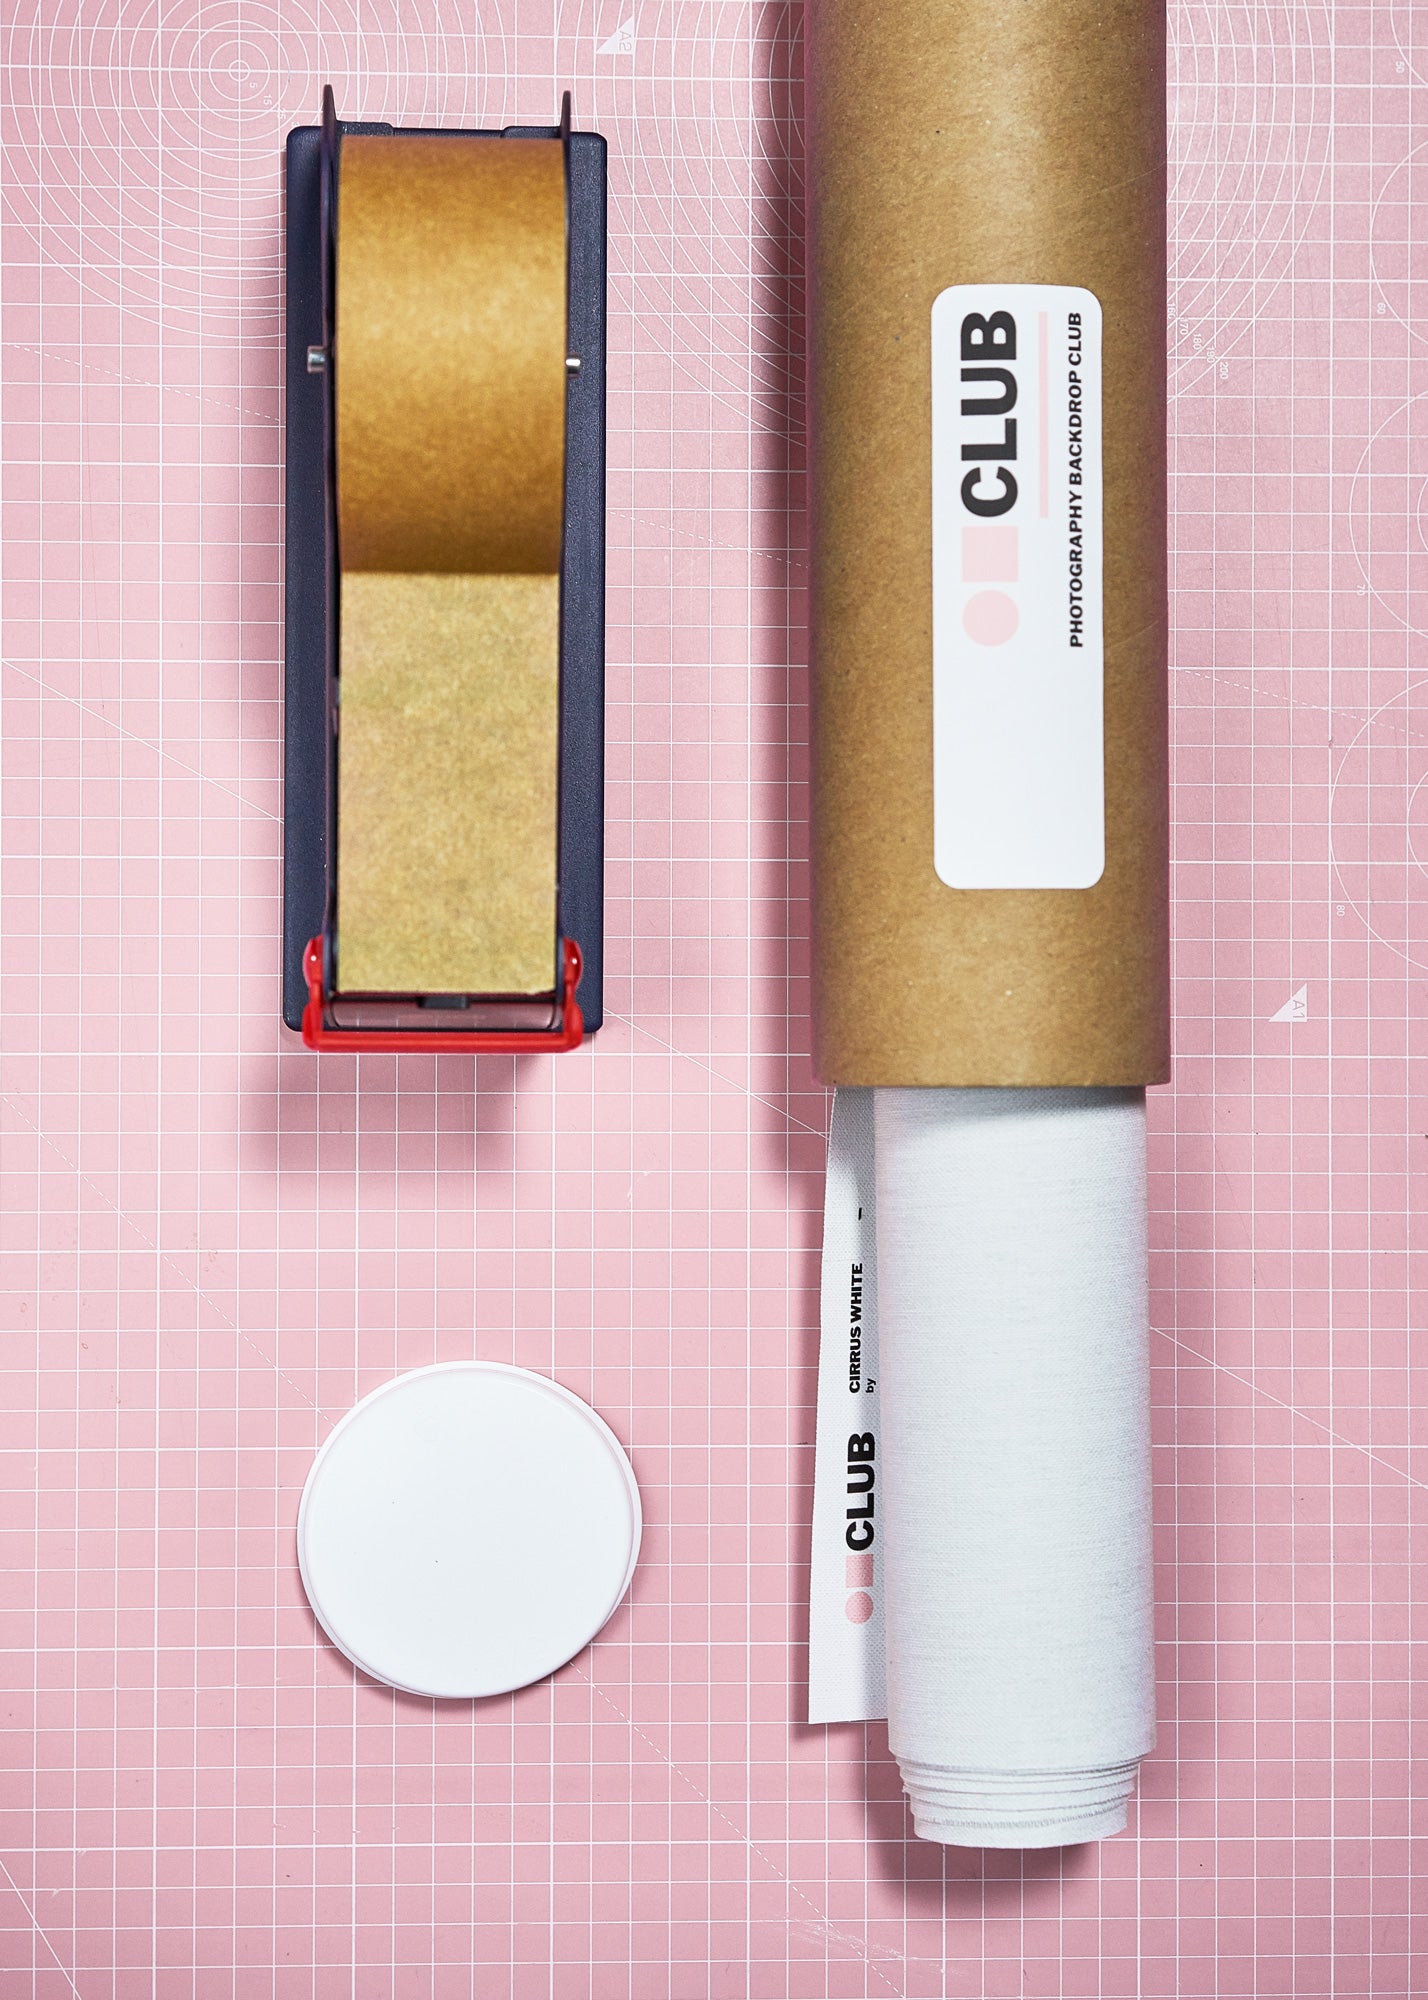
One of the simplest ways to use a canvas backdrop is to tape it along the white bordered area to a wall (or flat vertical surface). Low tack tapes like masking or kraft are perfect for this, but if you choose, you can also use stronger gaffer/duct tape. Be careful if applying strong tapes though; as these can catch on loose threads at the edge of the canvas and create pulls or runs. After shooting, always remove any tape to avoid the adhesive settling and lifting off the print.
If taping to a wall is not an option, you can also support the canvas using a backdrop stand. There are many purpose built stands available online, as well as some great DIY ideas for making your own. If you are using the backdrop for larger scale still life (as well as possibly pet or infant photography), you may find that a collapsible clothes rack is a great option too: Just fix the canvas backdrop to the top bar with a couple of clamps and you’re good to go!
Depending on how you want to use your backdrop, you may decide to arrange it in other orientations. Although it is not recommended that you ever stand on it, or use it as a floor drop, a canvas backdrop can be very effective as a flatlay surface (especially for fabrics/apparel/bags etc) or in a seamless style. Just be aware that if you are using props, you should avoid anything heavy or sharp that may buckle or pierce the fabric.
Lighting Your Canvas Backdrop
Unlike our vinyl backdrops, which have been mostly designed to replicate natural textures or interior surfaces (such as wood or marble), our canvas backdrops are reproductions of original artwork - and it is worth taking this into account when lighting the background within your composition.
These painted style backdrops clearly suggest an artificial environment, and are therefore more effective with structured studio-style lighting that does not allow the shadows to blend. Printed on heavy matt cotton, the canvas fabric is zero-glare and works well with flash and direct artificial lighting.
If you are new to working with studio lighting (whether it is for stills or video), the easiest way to achieve professional results is to have a dedicated light source for the background, eliminating the shadow cast by the subject. Make sure to leave a gap between your model and the background to create a clear separation between them.
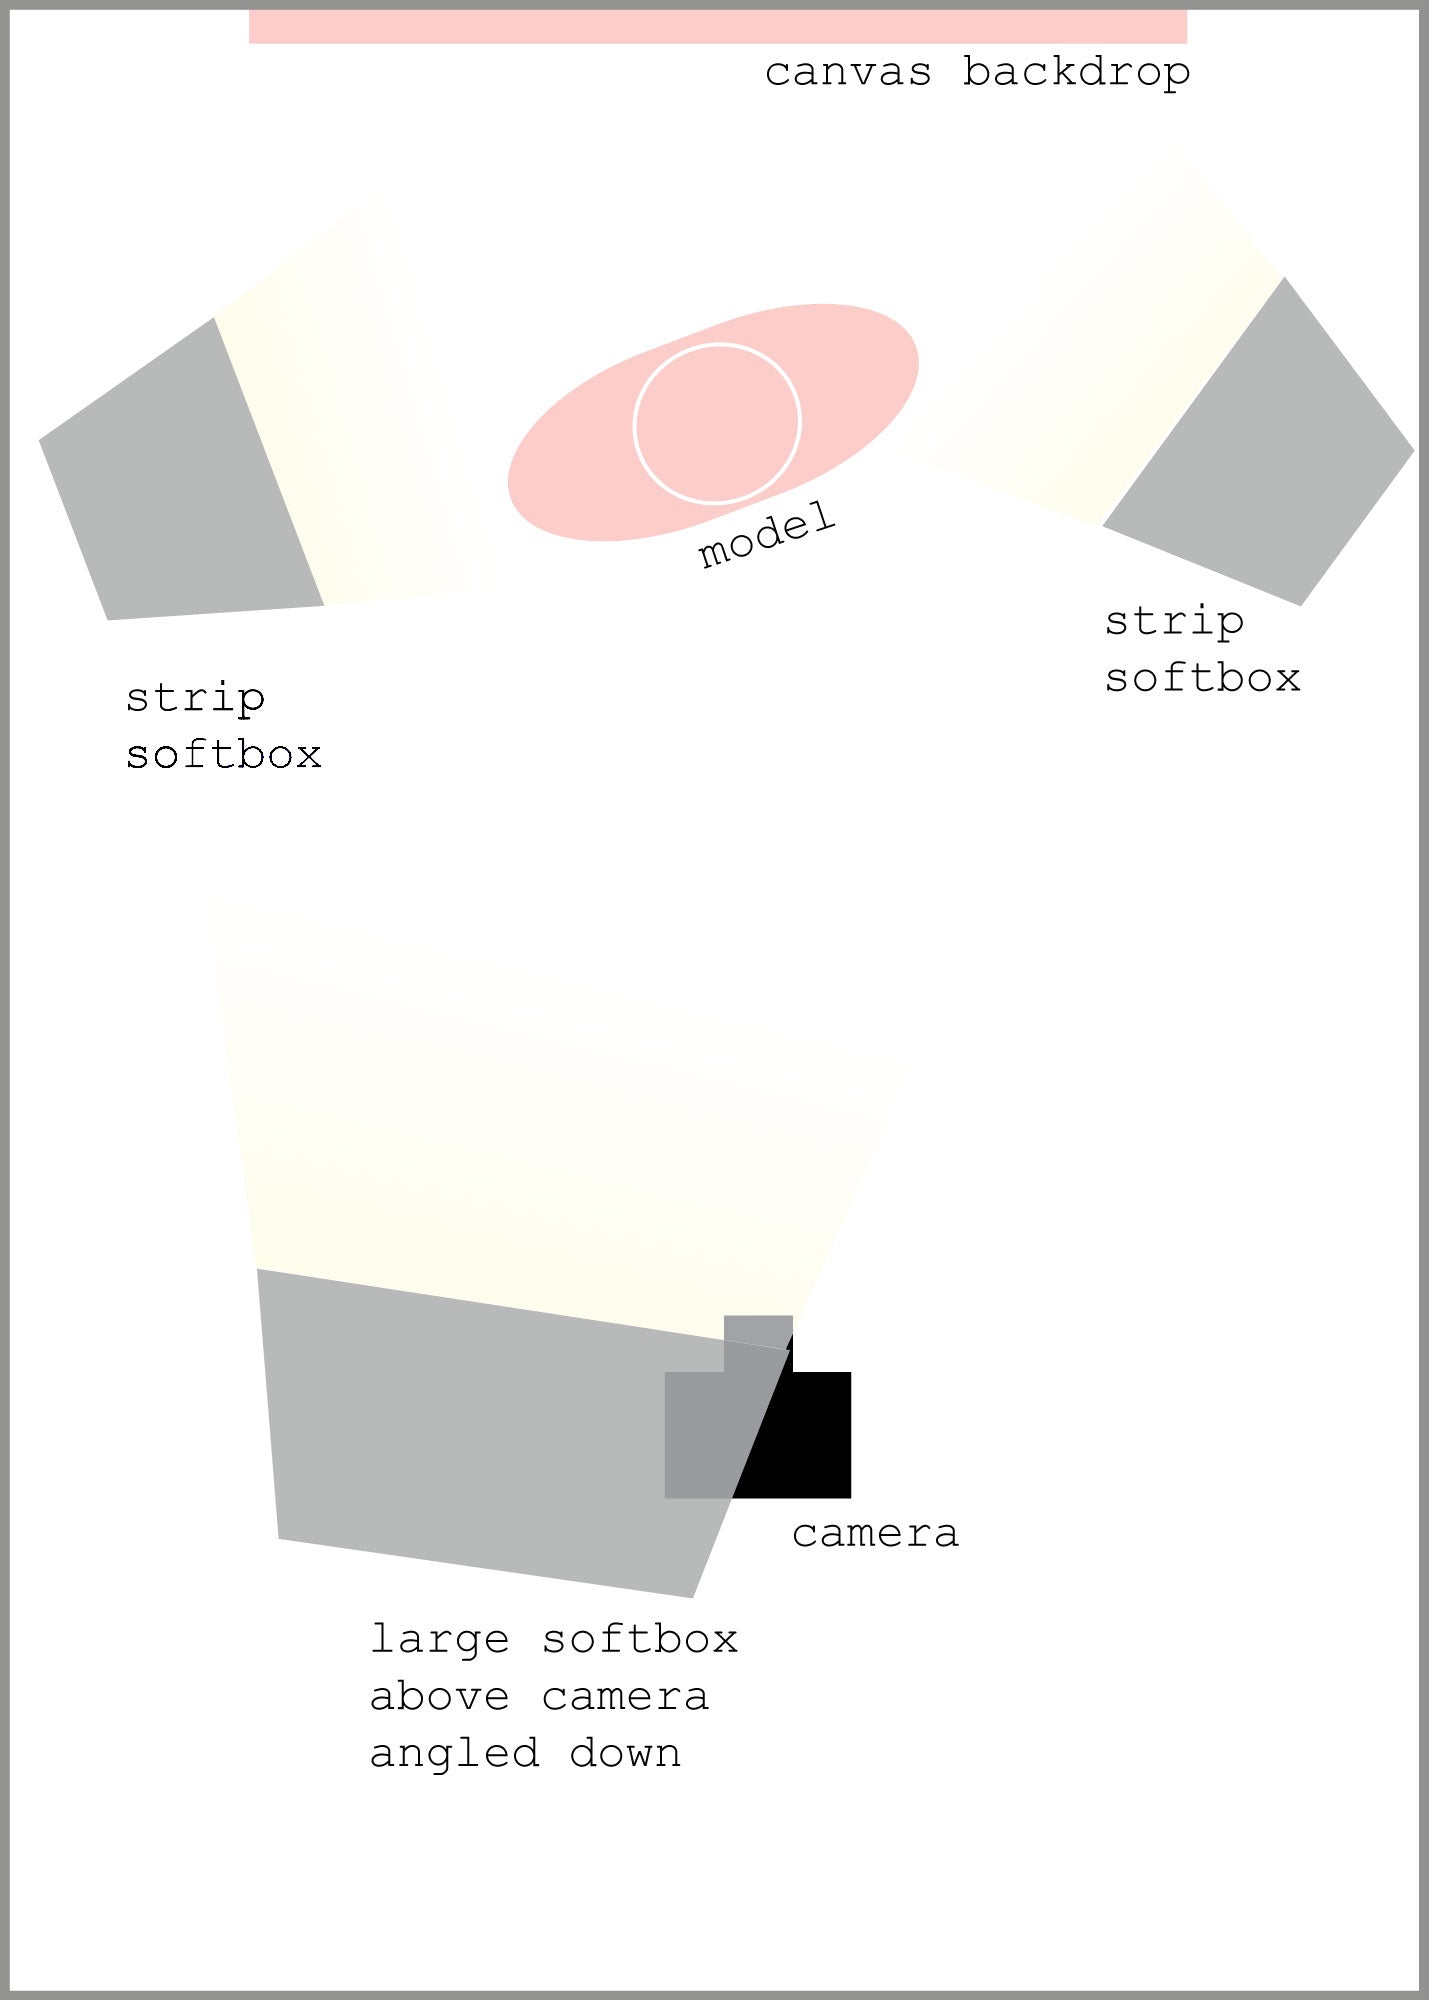
For this portrait, the background is illuminated by two side lights that also create a highlight on the model's shoulders and the side of her face. Harsh shadows are filled from the front by a big soft light above the camera:

Care & Storage Tips
With proper care, canvas backdrops can last a lifetime. To keep yours in great shape:
- Store rolled back into the shipping tube, or flat and out of sunlight
- If the backdrop gets marked, lightly dampen a soft cloth and gently dab to clean. Do not rub, soak or use detergents as this can permanently remove the inks
- Any minor creases should drop out naturally once the backdrop is hung. This process can be helped by hanging the canvas in a warm room
- As a last resort, stubborn creases can be carefully ironed out. Cover the printed side with a clean towel and iron on a low setting. Short bursts of steam may be used if necessary. DO NOT iron either side uncovered as it will permanently warp the canvas
That’s it for this post! Thanks for checking out the blog and we hope you have a great time shooting with your new canvas backdrop. If you have any other questions please get in touch with us directly or in the comments section below 🙂

